Tag: Git
Git is a distributed version control system that allows multiple developers to collaborate on projects, track changes, and manage code revisions efficiently.
-

Docker: how to build and push a Git repository to Docker Hub
Docker Hub is a cloud-based repository provided by Docker that allows developers to store, manage, and share Docker container images. It serves as a central registry for Docker users to distribute their containerized applications and collaborate with others. To build and push a Git repository to Docker Hub, you can follow these steps: Step 1…
-
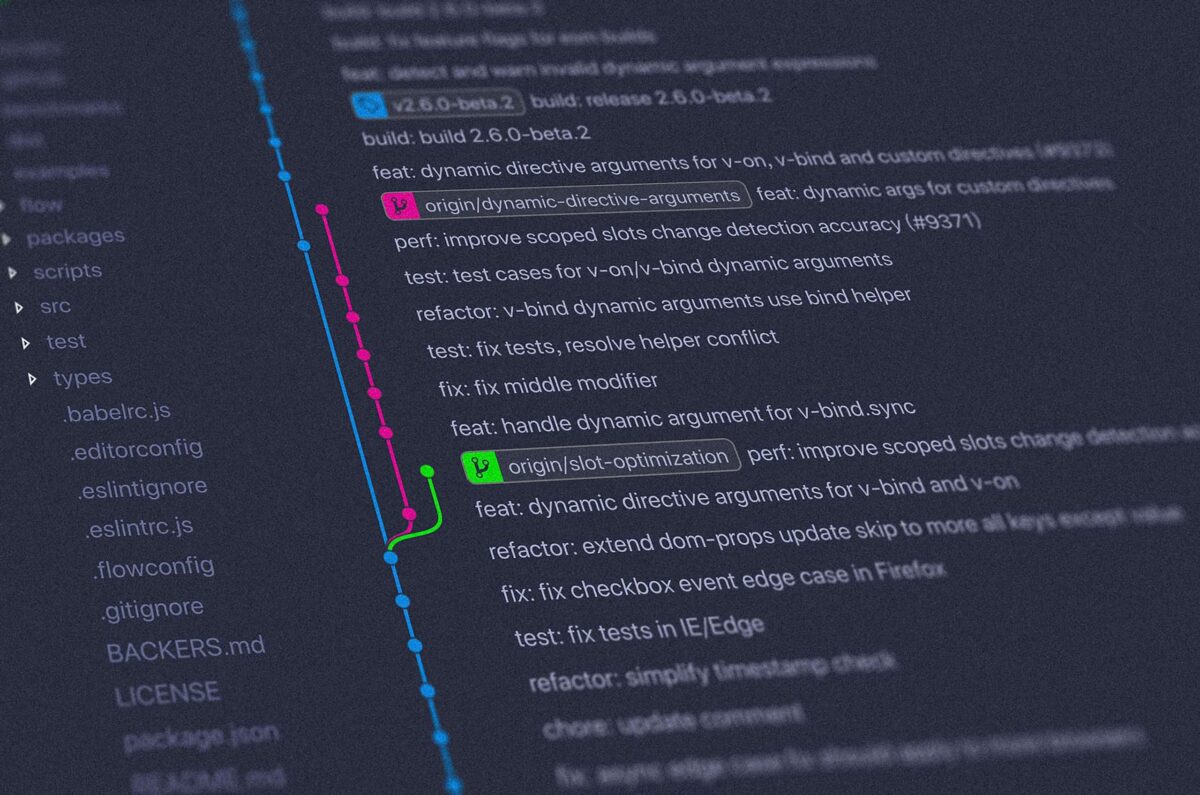
Git: how to compare two branches
Sometimes it’s necessary to get the difference between two branches. Git already provides a really powerful diff command which does exactly this: git diff is very powerful, as it not only compares two branches, it also allows multiple comparisons: Show changes between the working tree and the index or a tree, changes between the index…
-
Git: create empty commit to trigger an action
Sometimes it’s necessary to trigger an action for CI/CD, e.g. when you use GitLab. To do this without any changes on the code base, you can create an empty commit. For this, git has a command: This is also described in the Git documentation: –allow-emptyUsually recording a commit that has the exact same tree as…
-

Setup GitLab Runner for Docker containers on Synology NAS
The Synology NAS system provides a convenient way to install software packages. One of those packages is Docker, which can be used to install additional software. This posts describes how to install and register GitLab Runner for Docker on a Synology NAS. The setup described in this post has been tested on the following system:…
-
Sourcetree keeps asking for password
Normally, Sourcetree stores your login credentials so that it’s not necessary to re-enter them each time you push or pull you repository from your git server. But sometimes, Sourcetree keeps asking for password when committing or pushing data to a server. In this case, the following solution worked for me: Open the terminal and navigation…
-
Git: Unterschied zwischen ‘git pull’ und ‘git fetch’
Git stellt verschiedene Befehle bereit, um die Daten eines Repositories mit dem lokalen Stand abzugleichen. Dazu gehören unter anderen git pull und git fetch. Beide Befehle holen Daten vom entfernten Repository, besitzen aber einen kleinen Unterschied. Kurz gesagt: git pull führt ein git fetch und anschließend ein git merge aus. Ein git fetch kann man zu jeder Zeit machen, um die…
-
Git: commit-Message korrigieren bzw. bearbeiten
Möchte man die letzte Commit-Message eines bereits ausgeführten Commits bearbeiten, dann lässt sich das mit folgendem Befehl über die Konsole tun: git commit –amend Dies öffnet einen Texteditor in dem man die gewünschte Commit-Message eingeben kann. Die neue Commit-Message lässt sich auch sofort übergeben: git commit –amend -m "New commit message"