Tag: iOS

Why does the iOS App Store show more languages than my app supports?

By default, the languages of an app are listed in info.plist by setting the values for the properties list key CFBundleLocalizations. A definition as shown below should result in supported languages English and German.

	<key>CFBundleLocalizations</key>
	<array>
		<string>en</string>
		<string>de</string>
	</array>

But when looking at the AppStore, the languages shown there do not always correlated with this setting. The reason is that the languages shown on the AppStore are generated automatically based on the localized *.lproj folders found in your app.

Normally those folders should be in sync with your properties list setting. But when you use third party libraries (e.g. with CocoaPods) additional localizations might be loaded into your app. In this case, all *.lproj folders found in your app and in the pods are used for language determination.

How to correct the languages?

There is a plugin for that: cocoapods-prune-localizations, which can be simply added to your Podfile. When running pod install, this script will remove all localized files from pods or just keep the specified languages. To install the script, run:

gem install cocoapods-prune-localizations

Then add the following lines to your Podfile:

plugin 'cocoapods-prune-localizations'

Localizations will be inferred from your project.

or if you would prefer to specify the localizations:

plugin 'cocoapods-prune-localizations', {:localizations => ["en", "es"]}

This will keep the English and Spanish localizations in the Pods. Modify the localizations to your needs.

Photo by Etienne Girardet on Unsplash


Build and Release a Flutter App

Updating the app’s version number

To update the version number, navigate to the pubspec.yaml file and update the following line with the current version string:

version: 1.0.0+1

After the change, run:

flutter pub get

Build and release the iOS app

A detailled description of the whole process is described at docs.flutter.dev.

To release the iOS app, you use Flutter to build a xcarchive file. This build archive can be published the same way you would do it with Xcode by using the archive manager and one of the different Distribution options.

Build the iOS app:

flutter build ipa

The generated xcarchive file is saved to your app directory under:

/build/ios/archive/MyApp.xcarchive

Build and release the Android app

A detailled description of the whole process is described at docs.flutter.dev.

To release the Android app, you use Flutter to build a app bundle aab file. This file can be distributed by using Google Play Console or any other store.

Build the Android app:

flutter build appbundle

The generated aab app bundle file is saved to your app directory under:

/build/app/outputs/bundle/release/MyApp.aab

Photo by Artur Shamsutdinov on Unsplash


Background tasks in iOS

As already discussed in Background task in iOS action extension, it sometimes becomes necessary to perform time consuming tasks in the background. This is really important, if such a task would block the user interaction. Especially for action and share extensions, this might lead to some waiting time before a task completes and the extension disappears. After several attempts to realise a working solution, the following code help to extends an App’s background execution time.

This code was described in the article Extending Your App’s Background Execution Time.

Extending the background execution time in an app

func performTask()
{
   // Perform the task on a background queue.
   DispatchQueue.global().async {
      // Request the task assertion and save the ID.
      self.backgroundTaskID = UIApplication.shared.
                 beginBackgroundTask (withName: "Perform Long Task") {
         // End the task if time expires.
         UIApplication.shared.endBackgroundTask(self.backgroundTaskID!)
         self.backgroundTaskID = UIBackgroundTaskInvalid
      }
            
      // Run task synchronously.
      self.performLongTask()
            
      // End the task assertion.
      UIApplication.shared.endBackgroundTask(self.backgroundTaskID!)
      self.backgroundTaskID = UIBackgroundTaskInvalid
   }
}

Extending the background execution time in an extension

func performTask()
{
   // Perform the task in background.
   let processinfo = ProcessInfo()
   processinfo.performExpiringActivity(withReason: "Long task") { (expired) in
      if (!expired) {
         // Run task synchronously.
         self.performLongTask()
      }
      else {
         // Cancel task.
         self.cancelLongTask()
      }
   }
}

As mentioned in the documentation, the ProcessInfo code block is called a second time if the system need to suspend the process:

If your block is still executing and the system need to suspend the process, the system executes your block a second time with the expired parameter set to true. Your block must be prepared to handle this case. When the expired parameter is true, stop any in-progress tasks as quickly as possible.

Source: https://developer.apple.com/documentation/foundation/processinfo/1617030-performexpiringactivity

Important: it’s important that the tasks are executed synchronously. When the end of the block is reached, the thread will terminate and end the execution of your task. If your tasks are asynchron, you can use a loop like shown below to wait inside the background thread until the asynchron task is finished:

// Keep background thread alive until asynchron task ends.
repeat {
    sleep(1)
} while(taskIsRunning)

General thoughts on using background tasks in iOS

A good summary of background tasks is available at https://forums.developer.apple.com/thread/85066


Photo by Jonathan Borba on Unsplash.

Note To Self: new features that make your notes even faster

Note To Self Mail

The latest update 1.10 introduces a lot of new features that make your notes even faster. This includes features that improve the usability and also reduce the size of the note.

One of the main improvements is the customizable toolbar. This allows a custom positioning of the most used actions above the keyboard. There are different actions available to add and manage attachments, open the archive or send the note.

To make the notes smaller (and therefore send them faster), images can now be resized for sending. For this, a fixed size can be set or (to make things more flexible) the size of the images can be selected before sending.

Additional new features are:

  • Customizable app icon: default, dark, light
  • Preview of the note contents in share extension
  • Spanish localization … hola!
  • Support dynamic font sizes

Beside this, a large number of minor issues on layout and functionality have been fixed:

  • Updated design to handle dark mode of iOS 13
  • Fixed cursor jumping during text editing
  • Fixed layout issues when changing from landscape to porttrait (and vise versa)
  • Action extension can now handle more content types
  • Characters < and > are now displayed correctly in the HTML version of the mail

Stay tuned, there are more new features to come in the next release!

You want to support this app?

Note to Self Mail - The fastest app to send your ideas into your inbox. | Product Hunt

Swift: Audioaufnahmen mit AVAudioRecorder

In Swift lassen sich Audioaufnahmen sehr komfortabel und einfach über die Klasse AVAudioRecorder realisieren. Beim Initialisieren der Klasse lassen sich bereits Codec, Samplerate, Anzahl der Kanäle und einige andere wichtige Einstellungen festlegen. Hier ein einfaches Code-Beispiel:

class AudioViewController : UIViewController, AVAudioRecorderDelegate
{
    // [...]
 
    var audioRecorder: AVAudioRecorder!
     
    func initAudioRecorder()
    {
        let settings: [String : Any] = [
            AVSampleRateKey: 16000.0,
            AVFormatIDKey: kAudioFormatMPEG4AAC,
            AVNumberOfChannelsKey: 1,
            AVEncoderAudioQualityKey: AVAudioQuality.low.rawValue
        ]
         
        let audioSession = AVAudioSession.sharedInstance()
        do {
            try audioSession.setCategory(AVAudioSessionCategoryRecord)
            try audioRecorder = AVAudioRecorder(url: getFileurl()!, settings: settings)
            try audioSession.setActive(true)
        }
        catch let error as NSError {
            print("AVAudioRecorder error: \(error.localizedDescription)")
        }
     
        audioRecorder.delegate = self
        audioRecorder.isMeteringEnabled = true
        audioRecorder.prepareToRecord()
         
        let displayLink:CADisplayLink = CADisplayLink(target: self, selector: #selector(updateMeters))
        displayLink.add(to: RunLoop.current, forMode: RunLoopMode.commonModes)
    }
     
    func updateMeters()
    {
        audioRecorder.updateMeters()
         
        if audioRecorder.isRecording
        {
            let time = NSInteger(audioRecorder.currentTime)
            // ...
        }
 
        // TOOD: do any updates e.g. for the UI (update displayed record time, ...)
    }
 
    @IBAction func startRecord(_ sender: AnyObject)
    {
        audioRecorder.record()
    }
 
    @IBAction func stopRecord(_ sender: AnyObject)
    {
        audioRecorder.stop()
    }
     
    func audioRecorderDidFinishRecording(_ recorder: AVAudioRecorder, successfully flag: Bool)
    {
        // Add audio to attachments
        let audioData = try? Data(contentsOf: getFileurl()!)
        if audioData != nil
        {
            // TOOD: handle audio data
        }
    }
     
    func getFileurl() -> URL?
    {
        let fileManager = FileManager.default
        let urls = fileManager.urls(for: .documentDirectory, in: .userDomainMask)
        let documentDirectory = urls[0] as URL
        let audioURL = documentDirectory.appendingPathComponent("audio.m4a")
         
        return audioURL
    }
}

Notiz an mich: jetzt noch schneller mit Postausgang

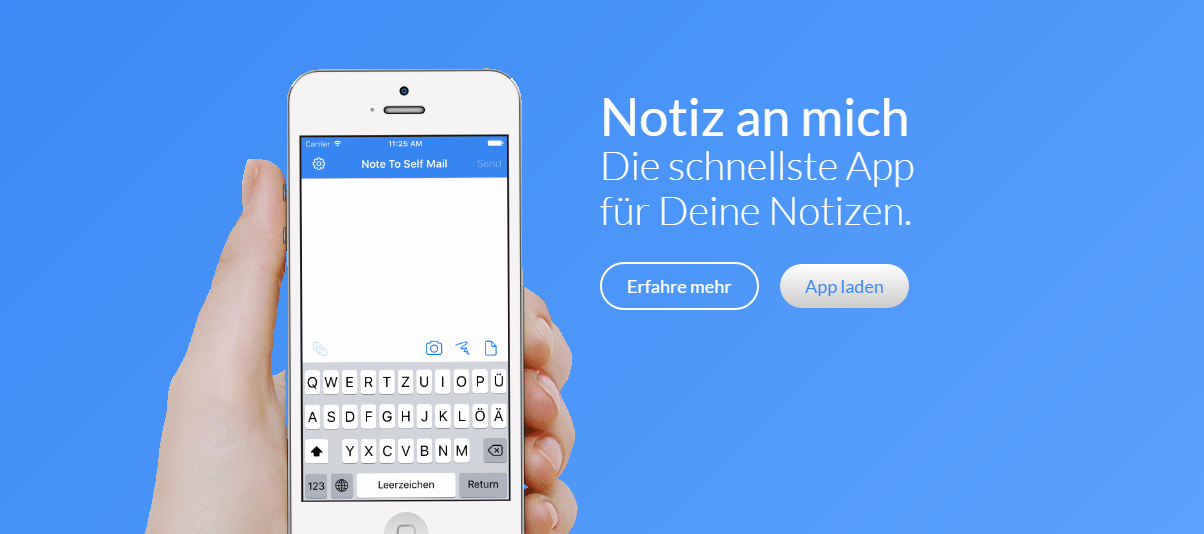
Die schnellste Notiz-App wird nun noch schneller: erstellte Notizen werden nun im Postausgang gespeichert und im Hintergrund gesendet. Damit entfällt das lästige Warten, bis die Notiz gesendet wurde. Und: Du behältst den Überblick, welche Notizen zuletzt erstellt wurden.

Was ist noch neu?

  • Viele Notiz- oder Aufgaben-Apps (Evernote, Trell, Any.do, Wunderlist, …) unterstützen den Import von Aufgaben über Email, d.h. eine Email an diese Dienste erstellt automatisch eine neue Aufgabe. Notiz an mich hilft dabei, das richtige Format zu erstellen. So wird bspw. häufig der Betreff als Aufgabe und der Inhalte der Email als Beschreibung verwendet.
  • Wir haben das Today-Widget aktualisiert: in den Einstellungen lässt sich nun festlegen, welche Aktionen (in welcher Reihenfolge) auf dem Widget dargestellt werden sollen.

Du kannst das Update der iOS-App im AppStore laden.

Apple Push Notification Services einrichten

Bevor ich mir hier an der Einrichtung des Apple Push Notification Services die Finger wund schreibe, gibt es einen Link zu einer sehr guten Beschreibung, wie man diesen Service einrichtet. Besonders hilfreich ist diese, wenn es um Provisioning Profiles und Zertifikate geht! Nicht umsonst schreibt der Autor auch “Certificates, Oh my!”.

http://www.raywenderlich.com/32960/apple-push-notification-services-in-ios-6-tutorial-part-1

Auch wenn sich der Beitrag an iOS 6 orientiert, die Beschreibung funktioniert auch unter iOS 7.