Category: Photo & Video
This category contains posts primarily focusing on visual content, such as photographs and videos. This includes anything from personal snapshots and artistic compositions to professional videography and cinematography.
-
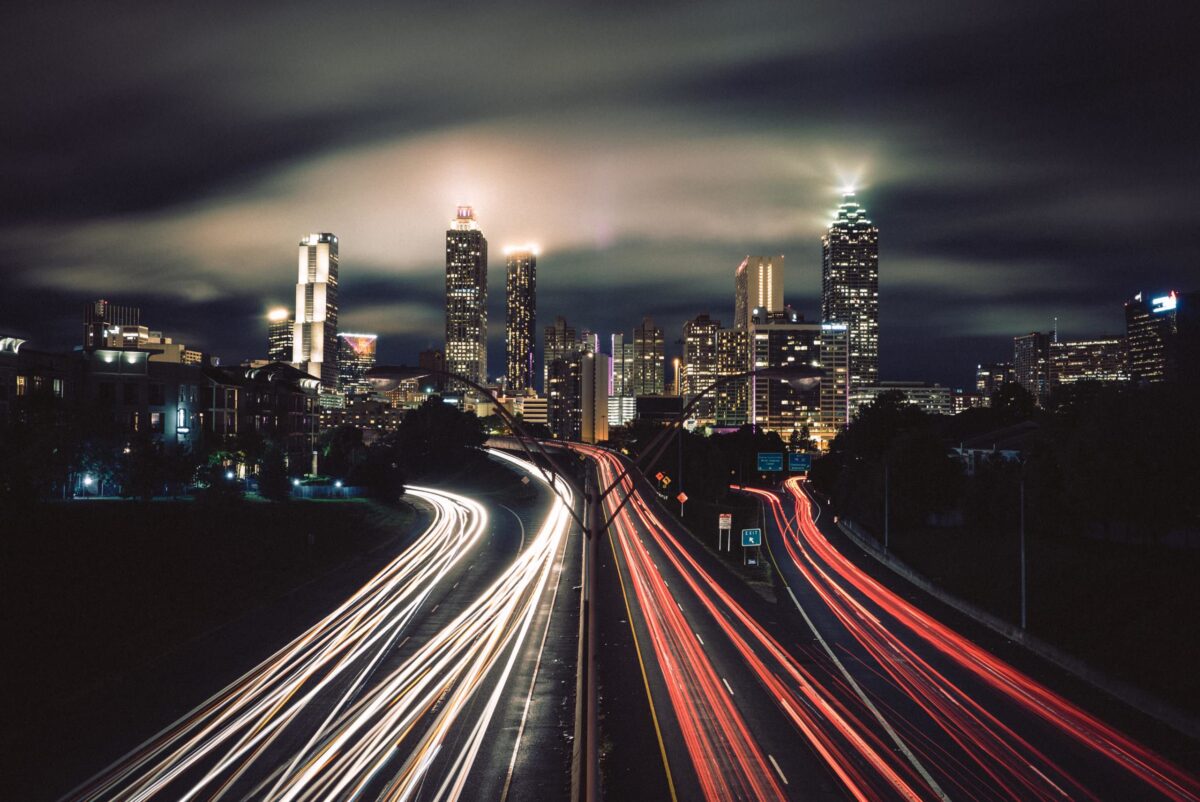
How to use your Mac for time-lapse like webcam shots
When searching for a script that captures images from my Macs internal camera, I found a small tool called ImageSnap. This handy tool is very simple in its usage, and it’s one of the key tools that you can use to turn your Mac into a time-lapse webcam. ImageSnap is a Public Domain command-line tool…
-

Black or white text on a colour background?
How to calculate programmatically whether black text or white text is more readable on a colour background? Here are some algorithms to calculate the brightness of a color. The example code is written in PHP, but you should be able to adapt the code examples to any other programming language. All of the algorithmns are…
-
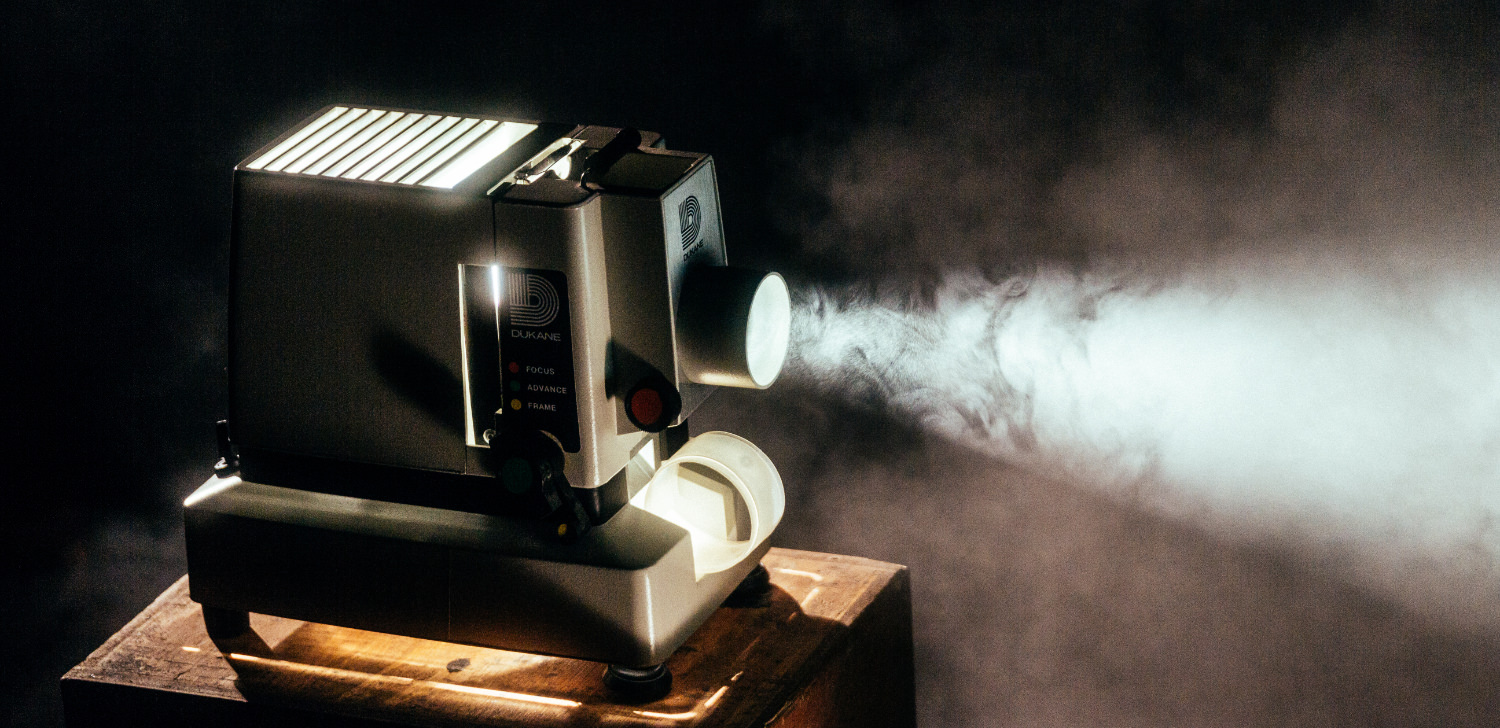
Cinematic-Look für Videoaufnahmen
Dieser Beitrag gibt ein Zusammenfassung zu den wichtigsten Einstellungen für einen “Cinematic” Look von Videoaufnahmen. Framerate Die für das menschliche Auge angenehmste Framerate liegt bei 24fps. Daher werden Kinofilme auch meist (mit wenigen Ausnahmen) in dieser Rate gezeigt. Man sollte ein Video also gleich in dieser Framerate aufnehmen. Bei Zeitraffer- oder Slowmotion-Aufnahmen (also anderen Frameraten) ist es…
-
Ladeprobleme des Akku LP-E6 mit dem Ladegerät LC-E6 beheben
LP-E6 ist der Akku für die Canon-Modelle EOS 5D Mark III, EOS 6D, EOS 70D, … Sollte sich ein Akku LP-E6 (egal ob es der Akku einer neuen Kamera oder ein Ersatzakku ist) mit dem dazugehörigen Ladegerät LC-E6 nicht laden lassen, dann kann das Problem möglicherweise mit den nachfolgenden Schritten selbst behoben werden: Canon Akku…
-

Farbe / Farbton eines Bildes anpassen
Möchte man Farbe bzw. Fabrton eines Bilder an ein anderes anpassen, dann braucht es unter Photoshop nur ein paar Handgriffe. Um genau zu sein: drei. Auf lifehacker.com wird beschrieben wie das möglich ist.