Category: Digital Life
-
Flickr emails out of control – they seem to be VERY excited to be acquired by SmugMug
Written by
On 20.04.2018, Flickr announced that they are excited to announce that Flickr has agreed to be acquired by SmugMug. That’s great, so let’s see what’s coming next! But since this time this notification reached my inbox over and over again. In my case eight times per hour for 9 hours in a row (up to…
-
Unarten im Netz – oder: wie werde ich meine Besucher los
Written by
in Digital LifeWer kennt sie noch, die guten alten Popups: kleine Browserfenster, die sich über den Browser gelegt haben. Und das meist, um Werbung anzuzeigen. Diese Zeiten sind zum Glück vorbei, da aktuelle Browser diese von Haus aus unterdrücken. Doch es gibt eine neue Methode, um Benutzer auf einer Webseite abzuschrecken und zu verjagen: Inline-Overlays (also kleine…
-
LaTeX: overfull \hbox mit draft sichtbar machen
Written by
LaTeX stellt einen Entwurfsmodus bereit, über den sich weitere Informationen im erzeugten Dokument anzeigen lassen. Der Modus lässt sich mit dem optionalen Argument draft wie folgt aktivieren: Dieser Modus bietet zwei Vorteile: Übervolle Textboxen (overfull \hbox), also Textboxen welche nicht innerhalb der definierten Seitenränder umbrechen, werden durch eine schwarze Linie hervorgehoben (siehe Grafik). Diese Markierung…
-
LaTeX: d.h. oder d.\,h.? z.B. oder z.\,B.?
Written by
Grundsätzlich sollte jede Abkürzung zwischen den einzelnen Teilen ein geschütztes Leerzeichen enthalten, damit die Abkürzung durch Zeilentrennung nicht auseinandergerissen wird. In LaTeX wird das geschützte Leerzeichen mit \, gesetzt. Es sollte also heißen: d.\,h. und z.\,B. Laut Friedrich Forssman und Ralf de Jong – Detailtypografie: Abkürzungen mit Binnenpunkt müssen innerhalb der Abkürzung mit einem geschützten…
-
LaTeX: hervorheben von Text mit \emph oder \textit?
Written by
Wie sollte man Text in LaTeX hervorheben? Kurz gesagt: \emph eignet sich besser als \textit und das aus zwei Gründen. Erstens, \emph — der LaTeX Philosophie folgend, dass logisches Markup vom Inhalt getrennt werden sollte — betont den Sinn, dass es sich um eine Hervorhebung handelt, während \textit diesen Gedanken mit dem Setzen einer Schriftart…
-
LaTeX: Zitatangabe mit Seitennummer versehen
Written by
Um eine Seitennummer zu einer Zitatangabe in LaTeX hinzuzufügen, kannder Befehl “cite” mit einer Option verwendet werden. Zum Beispiel: Das zitiert die Quelle und fügt die Seitenangabe “p. 111” in Klammern ein. Für deutsche Texte kann natürlich auch “S. 111” verwendet werden. Eine weitere Möglichkeit ist die Verwendung des Pakets natbib und die Verwendung von…
-
Notiz an mich: jetzt noch schneller mit Postausgang
Written by
Die schnellste Notiz-App wird nun noch schneller: erstellte Notizen werden nun im Postausgang gespeichert und im Hintergrund gesendet. Damit entfällt das lästige Warten, bis die Notiz gesendet wurde. Und: Du behältst den Überblick, welche Notizen zuletzt erstellt wurden. Was ist noch neu? Viele Notiz- oder Aufgaben-Apps (Evernote, Trell, Any.do, Wunderlist, …) unterstützen den Import von Aufgaben…
-
Notiz an mich: die schnellste App für Deine Notizen
Written by
“Notiz an mich” hilft Dir dabei, Notizen möglichst schnell in Dein Email-Postfach zu bekommen. Und das ohne großen Aufwand und Umwege. Man könnte sagen: es ist die schnellste Notiz-App. “Notiz an mich” ist nicht zum Verwalten Deiner Notizen gedacht, sie bietet aber dennoch alles, was man von einer Notiz-App erwartet: – Verfassen von Notiztexten –…
-
Arbeiten mit TeXnicCenter
Written by
Autocomplete für Literaturangaben Die Tastenkombination für Autocomplete (bspw. von Befehlen) lautet in TeXnicCenter: Strg + Leertaste. Das funktioniert auch bei Literaturangaben, wenn eine BibTeX-Datei über \bibliography{literatur.bib} eingebunden wurde.
-
LaTeX: Probleme mit minitoc beheben
Written by
minitoc wird benötigt, wenn ein Dokument neben einem normalen Verzeichnis (Inhalts-/Abbildungs-/Tabellenverzeichnis) zusätzlich ein kleineres Verzeichnis speziell für Kapitel oder Anhänge beinhalten soll. Da es allerdings bei der Verwendung von minitoc schnell zu Problemen mit anderen Paketen kommen kann, gibt es hier eine Auflistung von Punkten, die man beachten sollte.
-
LaTeX: acronym für Formelverzeichnis mit Einheiten versehen
Written by
Nutzt man acronym für das Erstellen eines Abkürzungsverzeichnisses, dann lassen sich standardmäßig bei der Definition mit \acro nur 3 Parameter übergeben, in denen keine Einheit vorgesehen ist:
-
Warum man eqnarray vermeiden sollte …
Written by
in Digital LifeUnter der URL http://www.tug.org/pracjourn/2006-4/madsen/madsen.pdf ist eine Zusammenfassung zu finden, die einigen Gründen nachgeht, warum man das Setzen von mathematischen Formeln mit eqnarray in bestimmten Situationen vermeiden sollte. Was genau der Unterschied zu beispielsweise align ist, wird hier sehr schön beschrieben! Bei Problemen mit eqnarray lohnt sich also zunächst ein Blick in dieses Dokument!
-
Darstellung mathematischer Formeln mit LaTeX (eine Zusammenfassung)
Written by
Mathematische Formeln sind mit LaTeX sehr einfach umzusetzen. Dieser Artikel bietet eine (kleine) Zusammenfassung der wichtigsten Ausdrücke, Sonderzeichen und Symbole. Fehlende Ausdrücke können gern als Kommentar hinzugefügt werden.
-
LaTeX: Silbentrennung verhindern
Written by
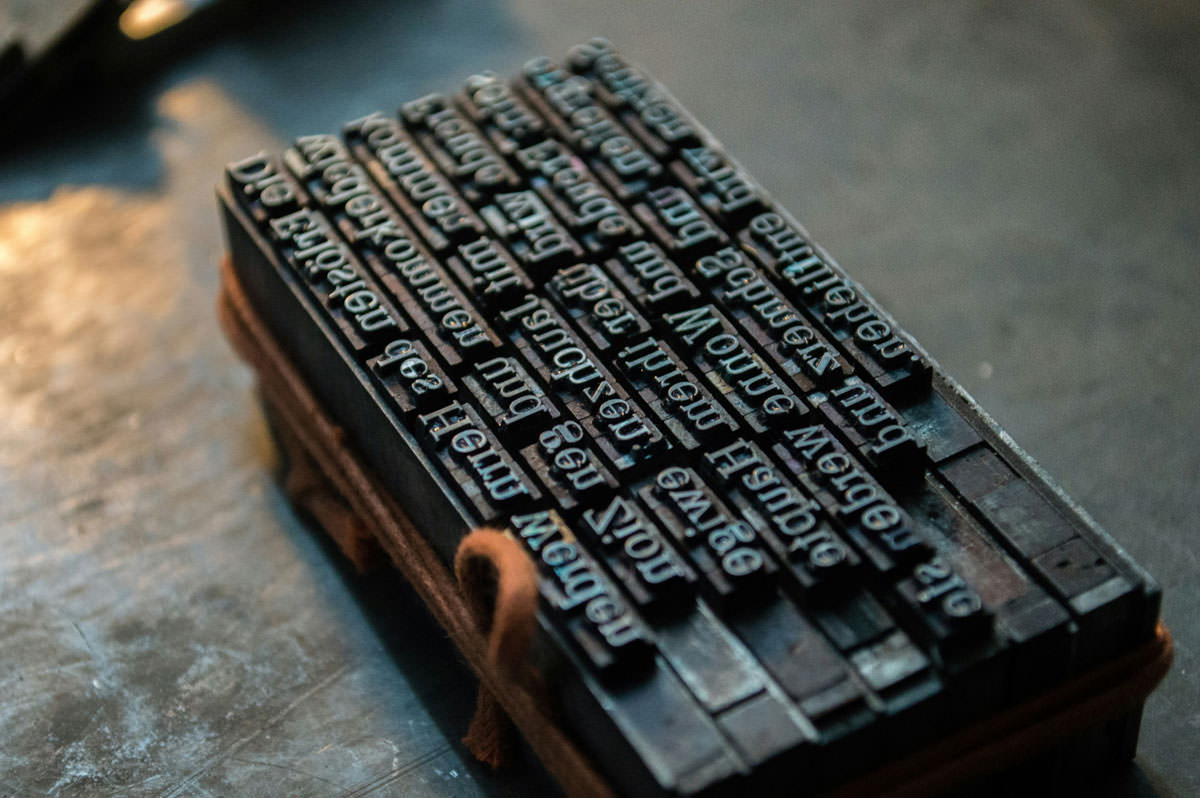
Für die Erweiterung der Silbentrennung kann das Paket hyphenat verwendet werden. Damit lässt sich die Silbentrennung für das gesamte Dokument oder auch für einzelne Wörter verhindern. Im folgenden Beispiel wird mit Hilfe von \nohyphens{} die Trennung eines einzelnen Wortes unterbunden: Eine vollständige Dokumentation des Paketes gibt es unter:http://mirror.math.ku.edu/tex-archive/macros/latex/contrib/hyphenat/hyphenat.pdf. Foto von Tim Wildsmith auf Unsplash
-
LaTeX: Grafiken rotieren
Written by
Ist es ausreichend, wenn nur die Grafik rotiert werden muss, dann kann das Paket graphicx verwendet werden. Damit lässt sich die Grafik ganz einfach mit \includegraphics und dem Parameter angle rotieren. Der Wert angle ist dabei der Drehwinkel in Grad. Das folgende Beispiel dreht die Grafik um 90 Grad:
-
BibTeX mit URL-Angabe für www- und ftp-Quellen
Written by
Eine Quellenangabe kann durch folgende Varianten mit einer URL versehen werden:
-
LaTeX: Trademark, Copyright, Registered
Written by
In LaTeX lassen sich die Symbole für Trademark (™), Copyright (©) und Registered (®) mithilfe des textcomp Pakets und des latexsym Pakets angezeigen. Diese können aber auch direkt mit Unicode-Zeichen dargestellt. Hier sind beide Methoden: Mit dem textcomp und latexsym Paket Mit folgendem Code lassen sich die Zeichen ®, © und ™ in LaTeX hochgestellt…
-
ToDo-Liste in LaTeX-Dokumente einfügen
Written by
Bei der Arbeit an großen LaTeX-Dokumenten ist es von Vorteil, sich noch ausstehende oder zu überarbeitende Textteile zu markieren. Diese Möglichkeit bietet das Paket “todonotes.sty”. Die aktuelle Version kann unter http://midtiby.blogspot.com/ geladen werden. Update: “todonotes” ist nun auch im CTAN verfügbar! Das Paket stellt folgende Befehle bereit: Die so erstellten Vermerke erscheinen dann im Text…
-
Neue Pakete in TeXLive (Mac OS X) einbinden
Written by
Die Installation von TeXLive (2007) speichert alle für teTeX-relevanten Pakete unter Mac OS im Verzeichnis /usr/local/texlive/2007/. Möchte man zu dieser Installation noch weitere Pakete hinzufügen, dann bietet sich dazu das Verzeichnis /usr/local/texlive/texmf-local/tex/ an. In diesem Verzeichnis kann nun für jedes Paket ein eigenes Verzeichnis angelegt werden, in dem die entsprechende *.sty-Datei enthalten ist. Am Beispiel…


